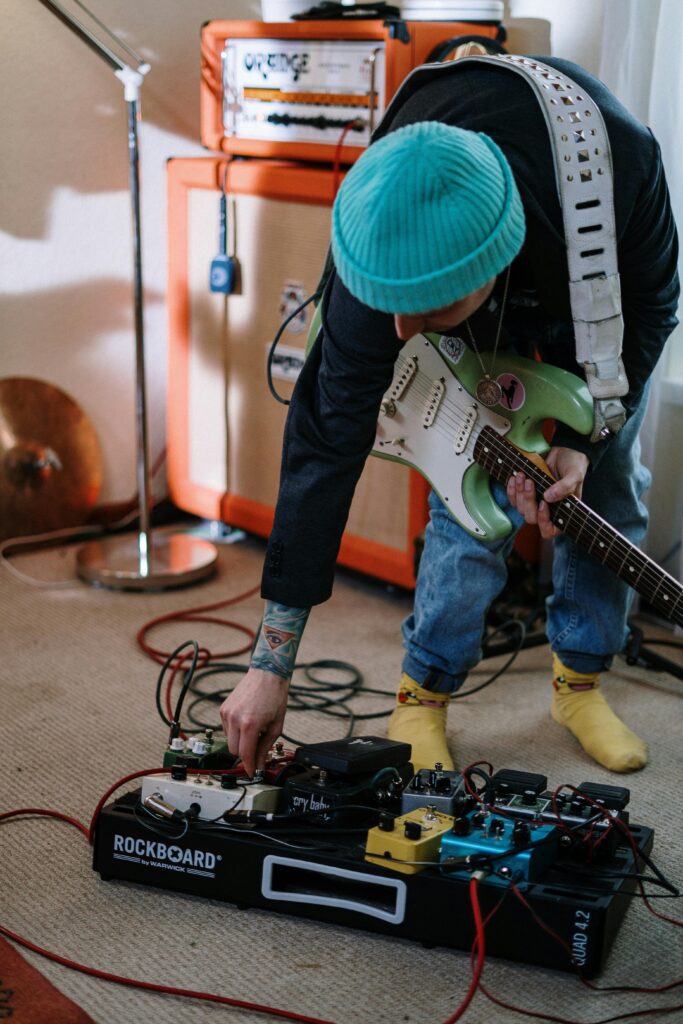
Every guitarist needs a good rig to help them perform at their best. However, while operating a guitar and amp by themselves is pretty simple, adding a pedalboard into the mix can complicate things quite a bit.
Pedalboards have a lot of individual parts that require care and proper connections to function as they should. This can lead many pedalboard newbies to wonder exactly how they should connect their pedalboard to their amp.
If you’re struggling to incorporate your pedalboard into your setup, here is everything you need to know.
Before you can get into the specifics of your pedal board setup and how to connect it to your amp, there are a few things that you need to make sure you have first. They are:
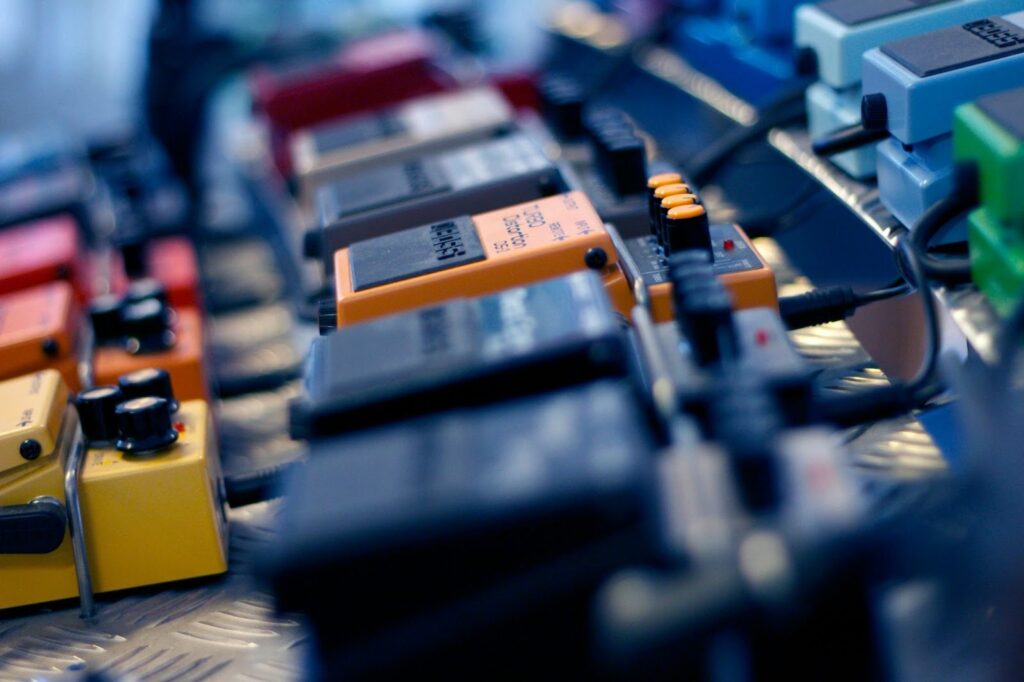
Making sure that you know how to plug in your guitar pedals properly before you connect the board to your amp is essential. You’ll need to use patch cables to connect all the pedals in your pedal chain and ensure that each pedal is connected to a sufficient power source. Otherwise, you’ll definitely run into some problems when testing your board.
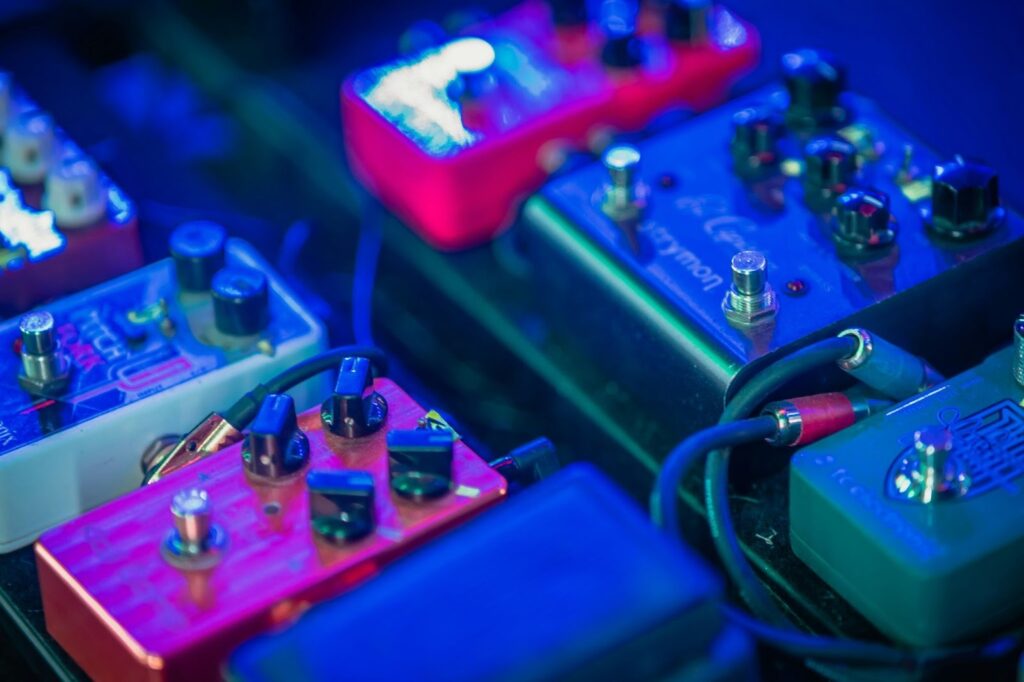
When it comes to figuring out how to set up your guitar pedals, the order of the pedals in your signal chain is a huge deal. While it may not be obvious to those just diving into the world of guitar effects pedals for the first time, the order you put your pedals in can have a dramatic effect on your tone.
While there is no one single correct way to order your pedals, if you want something that works right away, you should order your pedals like this.
This is the gold standard for pedal order because it effectively minimizes background noise, optimizes tonal clarity. However, if you feel like trying something new, experimenting with pedal order can create some interesting tonal results for those patient enough to try.
Now that you know the basics of pedal order and have everything you need to construct your rig, it’s time to learn exactly how to connect your pedalboard to your amp and guitar.
Here is a simple step-by-step guide.
Once you follow all of these steps, you’ll have a properly functioning pedalboard and amp setup that you can continue to fine-tune to achieve your ideal tone.
Even the cleanest pedal board setup can suffer from hum or tone loss without the right equipment.
If you want to get the best results, you should be sure to:
While you don’t need to follow all of these tips to get good tonal output, doing so will give you the best chance of achieving the ideal tone you want while avoiding any potential noise, signal loss, and power supply problems.
If you really want to get into the technical side of things, you can also start experimenting with effects loops.
Most modern amp models have an effects loop that reroutes your signal through the amp’s preamp section, which is especially beneficial for time-based effects like reverb and delay that are susceptible to preamp-driven distortion. All you need to do is:
This isn’t a requirement to achieve good tone, but it can help you improve the tonal quality that you get out of your reverb and delay pedals specifically.
Setting up a pedalboard correctly is one thing, but designing a rig that produces optimal tone and is quick and easy to set up and tear down is a different beast entirely.
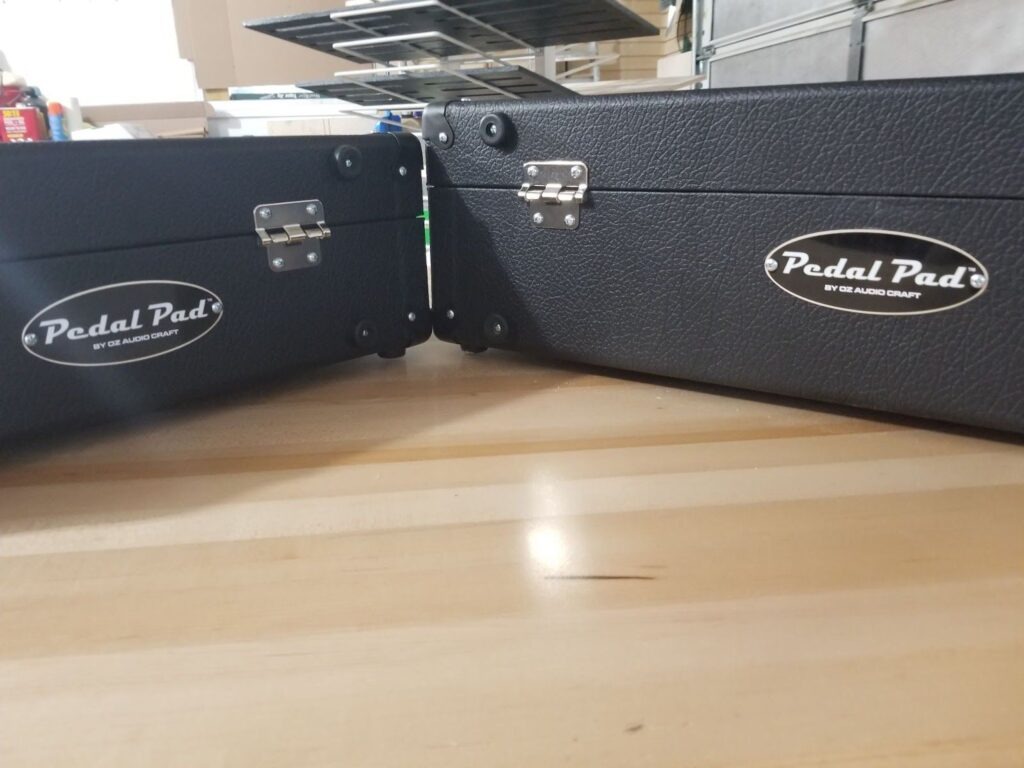
While simple mass-produced boards may be able to get the job done at first, the best way to make sure you have everything you need is to design a custom pedalboard that’s fine-tuned to your specific needs.
Here at Pedal Pad, we allow guitar players to do exactly that. Offering a wide variety of sizes, designs, and finishes, as well as unique features like ample under-deck storage and built-in audio ins/outs, our high-quality handmade custom boards can provide everything a guitar player needs to succeed.
Whether you’re new to the world of pedalboards or are a seasoned veteran, if you have an idea for your ideal dream board, you can trust us to bring that board to life.
Are you ready to build your new custom pedal board?
Our team of expert board builders is always here to answer questions and will happily help you design the perfect board to meet your guitar-playing needs. Don’t settle for some boring, mass-produced board when you could have it so much better.
Contact Pedal Pad and start designing your new dream pedalboard today!