Pedalboards are an essential part of any guitar player’s rig, but figuring out how to use a pedal board can be a significant challenge for many first-time users. From organizing your pedals on the board to figuring out how to effectively power and connect them all, diving into the world of pedalboards for the first time is a daunting task that can leave many discouraged and frustrated.
The good news is that it doesn’t have to be that way. While pedalboards can be quite complicated, setting one up and using it for the first time is a rewarding rite of passage that every guitar player should be excited to take on. All you need to do is figure out where to start.
If you’re new to the world of pedalboards and are wondering how you can start using one, our comprehensive step-by-step guide is here to help.
Using a pedal board is easy. Once it’s set up, all you have to do is plug in, press down on the effects that you want to use and start playing. The real challenge is setting it up for the first time to get it ready for use.
The pedalboard itself is just a piece of wood or metal that you can place your pedals on top of, so before you can start using it, you’ll need a number of different things to make that happen.
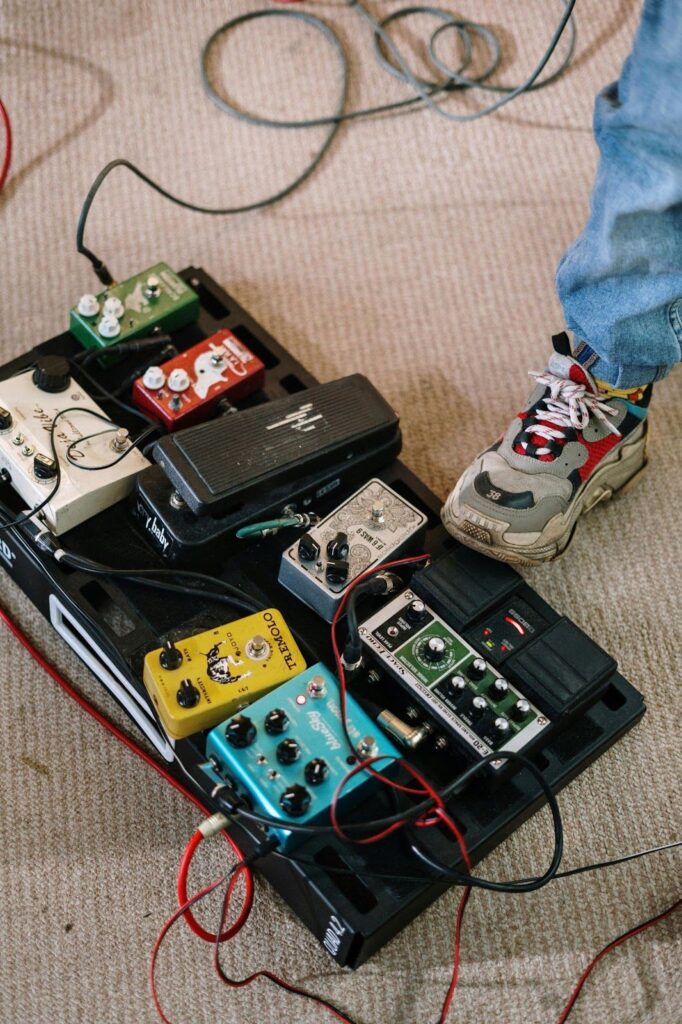
The first thing you’ll need is obviously the effects pedals that you plan to place on the board, but that’s not nearly all. Effects pedals require electricity to work, so you’ll need to figure out how to power them before you start setting everything up.
There are essentially two main types of power supplies. You could either use a daisy chain to power all of your pedals in a sequence or a dedicated isolated power brick, of which the latter is almost always the better option.
Isolated power supplies are much better at providing consistent power to each individual pedal, meaning that they almost always perform much better than daisy chains. All you need to do is make sure that the power brick you choose provides the correct voltage outputs for each of your pedals.
Once you’ve solved the problem of power, you’ll need a few other supplies including patch cables, velcro, and zip ties, to bring it all together.
Patch cables are the small audio cables that you’ll use to connect each of your pedals into a single signal chain. Without them, you simply won’t be able to connect your pedals in a way that allows you to use them all at once.
You also need a way to physically fasten the pedals to the board. While some guitar players may choose to screw their pedals into the board itself, the easiest and best way to do this is with velcro. This will ensure that your pedals stay put while still offering you the flexibility to make quick changes down the line.
Once you connect all your pedals together and to a power supply, you’ll also realize just how much excess wiring you have hanging around. Zip ties offer a quick and easy solution to keep all those wires safely in place and connected.
Now that you know the basics of how to set up your pedal board, you’ll still need to figure out how to best organize your board to ensure that it gives you the best tone possible.
The most important factor you need to consider here is pedal order. The order in which you put your pedals will have a huge impact on your tone, and while there is no “correct” order that everyone uses, there is plenty of conventional knowledge that you can take advantage of to create a signal chain that works well right off the bat.
If you have a tuner, volume pedal, or buffer pedal, these should be the first pedals in your chain, as you want them to have a completely clean input in order for them to work properly. Next comes your compressors, followed by any boosts, overdrives/distortion pedals, and/or fuzz pedals.
Delay and reverb pedals come next, after which you can place your modulation pedals, like chorus pedals, flangers, and phasers. If you have a wah pedal, this should be the final piece of your chain, right before your looper.
Once your pedal chain is in order, all you need to do to use your pedal board is to plug your guitar in and start playing.
Are you in the market for a new pedal board? Give us a call. We specialize in designing and building custom pedalboards that can be fine-tuned to meet the needs and specifications of any guitar player.
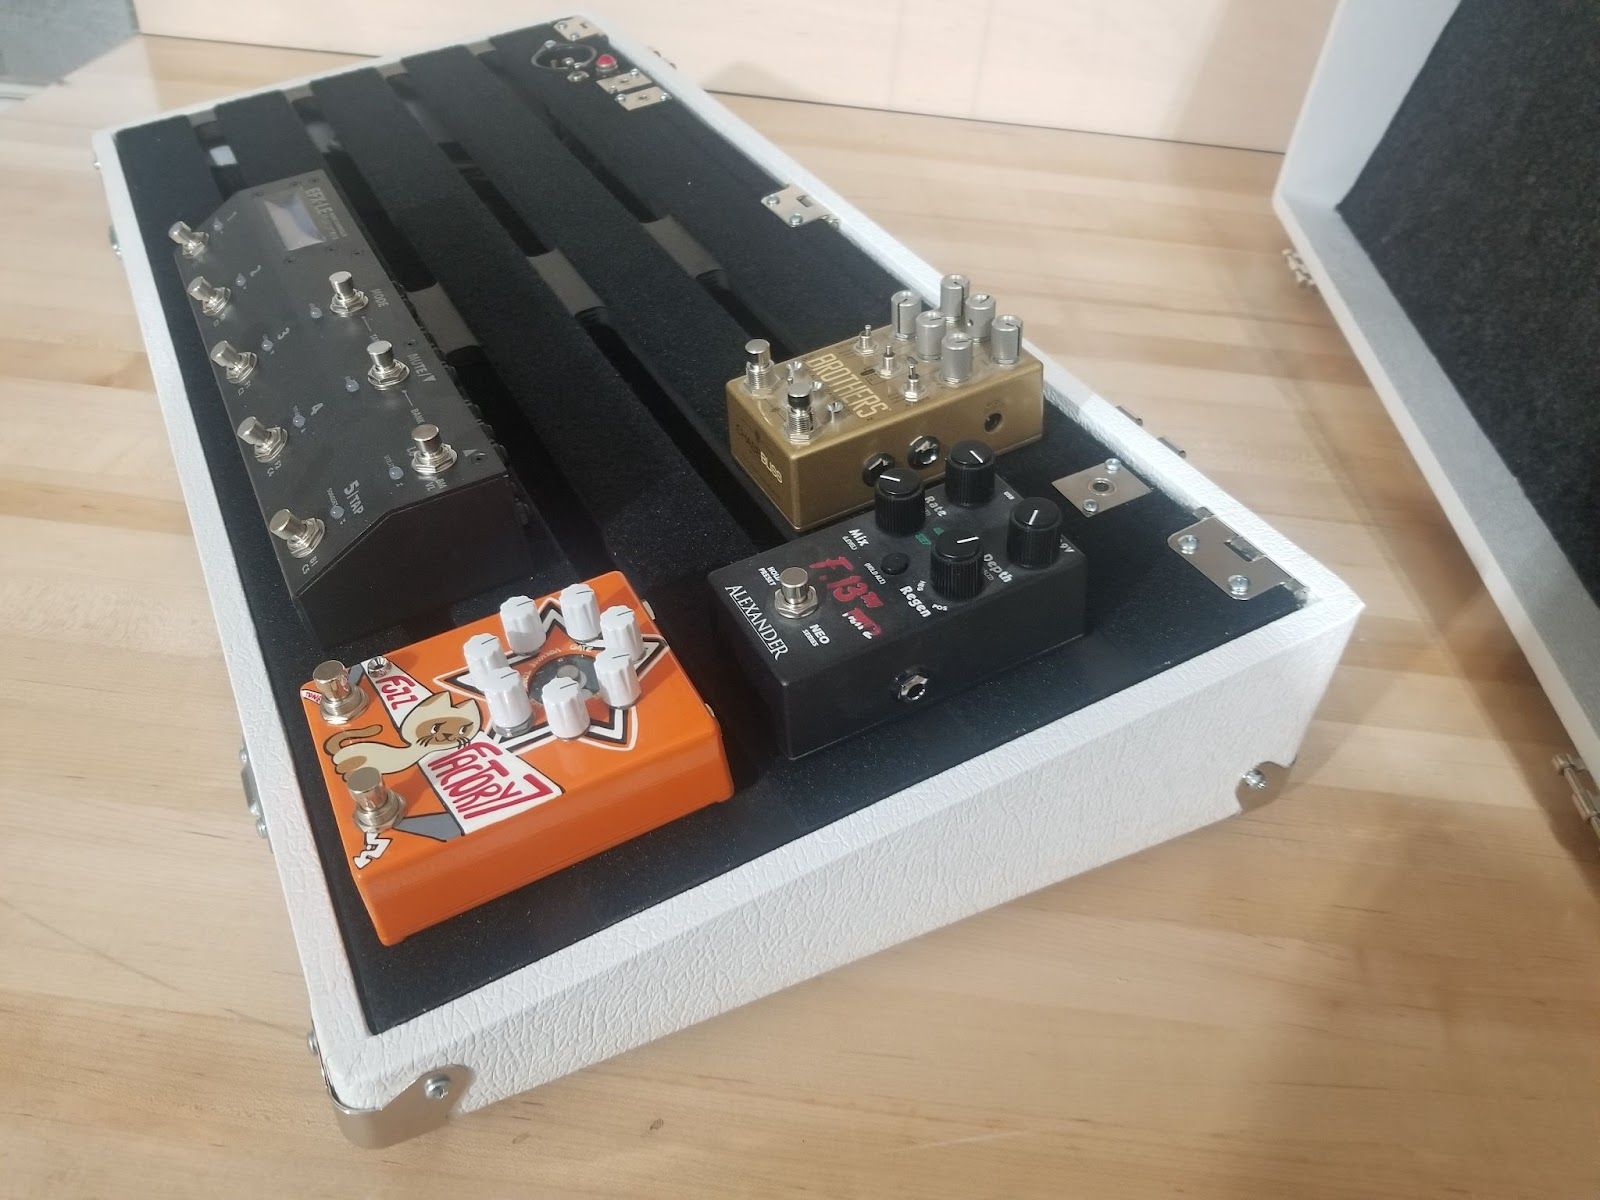
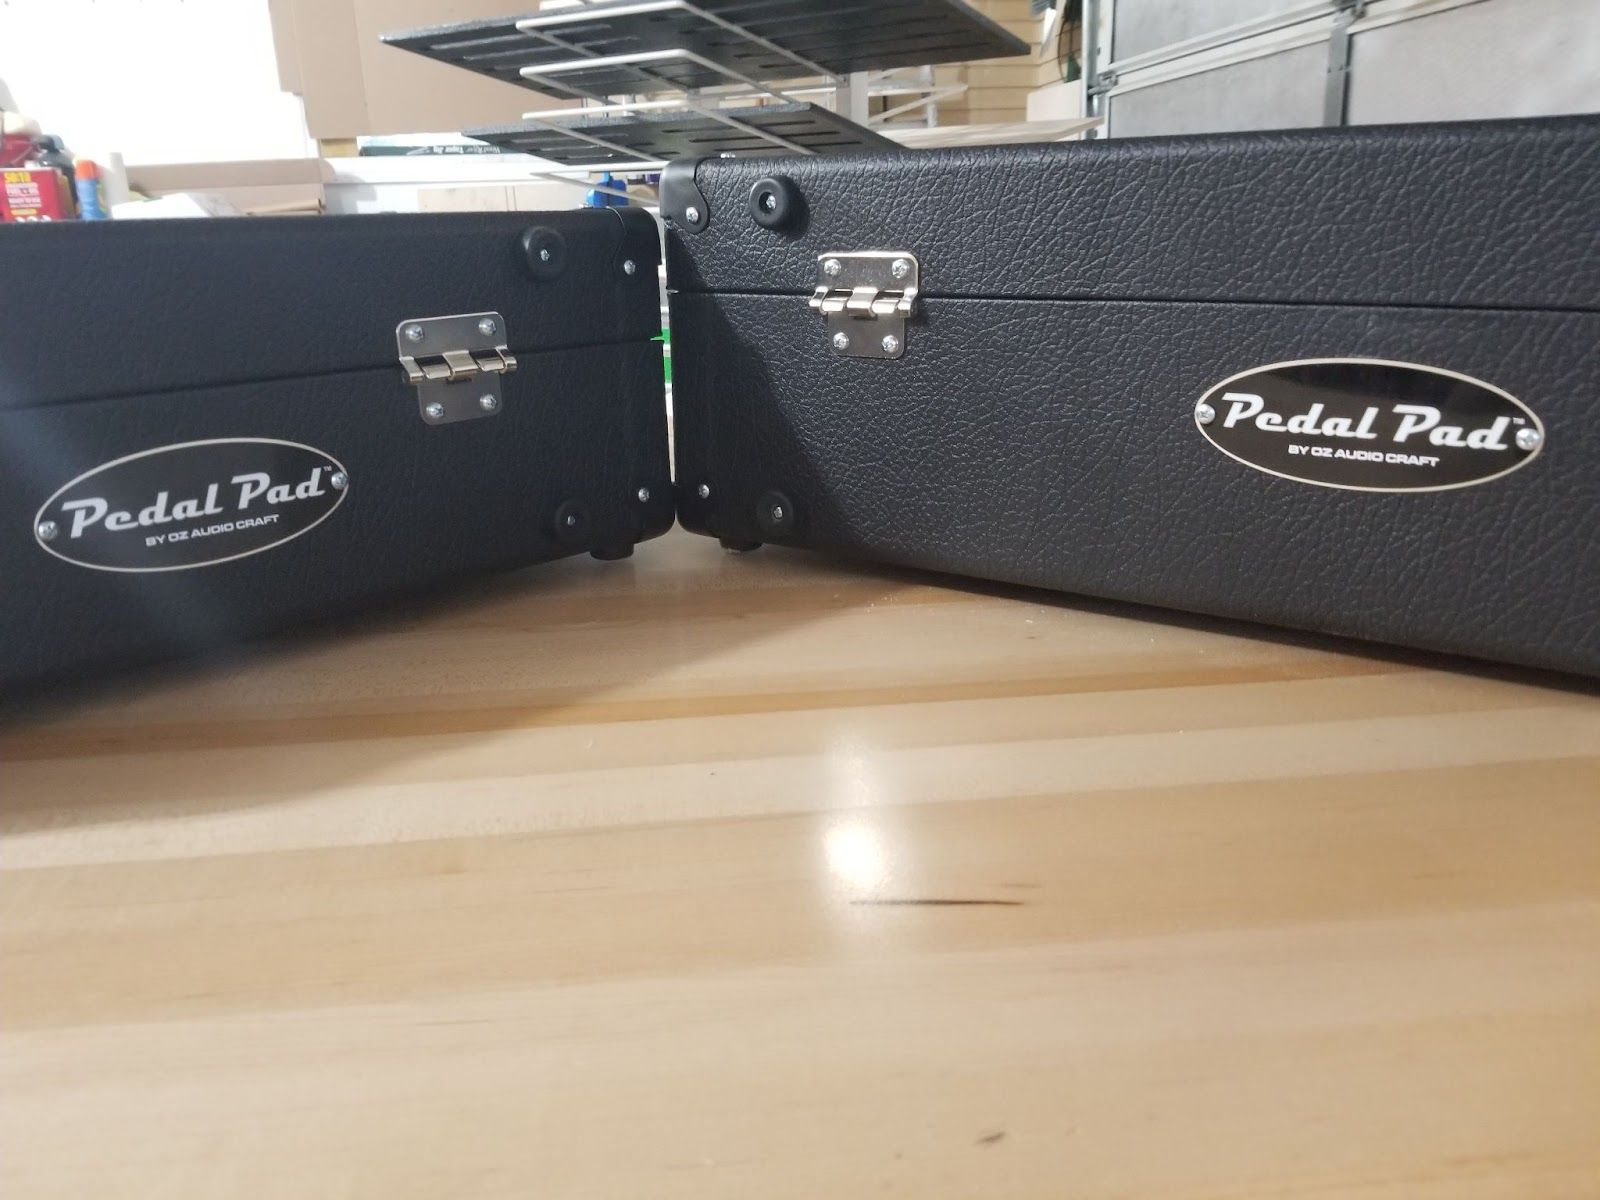
Mass-produced boards are incredibly basic and don’t provide the level of customization that you need to truly revolutionize your sound. Pedal Pad boards, on the other hand, are hand-built from high-quality materials and can include a wide variety of features that allow you to get the most out of your board.
Every guitar player dreams of building their own custom board, and with Pedal Pad, you can get all the perks of a custom board without having to do all the hard time, time-consuming work yourself.
Don’t settle for some boring mass-produced pedalboard when you don’t have to. Contact Pedal Pad and take the first step toward getting your new dream pedalboard today!