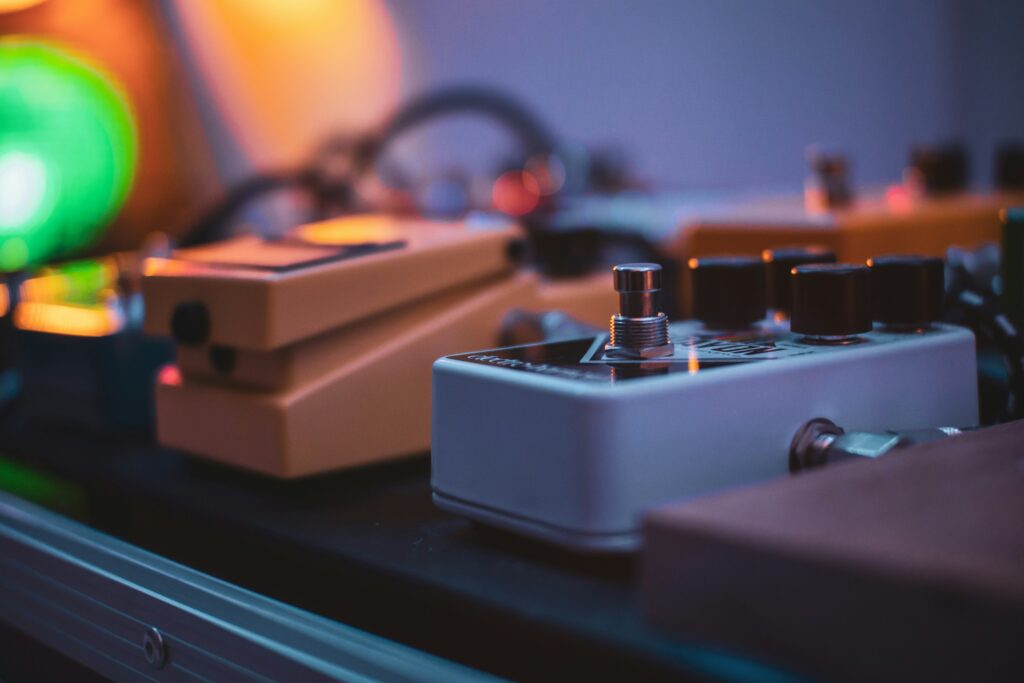
Are you wondering how to build a guitar pedal board? You’re not alone. Building a custom pedalboard is a rite of passage for many guitarists, but while projects like these may seem pretty straightforward, there’s a lot that new board builders need to know before they start.
Whether you’re new to the world of pedalboards or have been using one for years, if you plan on building a new guitar pedalboard, our comprehensive guide is here to help.
There are a lot of different things to consider before you start building a pedalboard, and the first thing you’ll need to think about is what you want it to be able to do. Every guitar player is different, and while some may be content with using only a handful of effects pedals, others may be looking to build something that can accommodate 20-plus effects pedals to create loops, soundscapes, and multiple effects loops.
There is simply no one-size-fits-all pedalboard plan, so even if you don’t currently have all the pedals you plan to eventually add, it’s essential that you have a plan to ensure that you include the right features on the right-sized board to allow it to do everything you want it to.
Once you have a general plan, it’s time to pick out the materials you’ll use to build your board. Most people opt to use wood, as this allows players the flexibility to build their board in any shape and size they want without compromising on durability.
Woods like birch, pine, teak, and mahogany are all great options for building boards, but you can use whatever type of wood meets your stylistic preferences and is within your budget. Just make sure that it is strong enough to take the beating your feet will give it over time.
One of the most significant challenges that many board builders face is the question of power. Effects pedals require electricity to function, and figuring out the most functional and space-efficient way to do this can be a challenge.
While you can use a daisy chain, or place a power supply on your board deck itself, we recommend that you try to leave enough space below your pedal deck to accommodate your power supply. This will allow you to save space on your board, while also allowing easy access to all of the pedals above it.
Whether you’re playing gigs or jamming with a friend, chances are you’ll need to transport your pedalboard every now and then. Many mass-produced boards come with soft cases, but these often lack the protection that most players want when transporting something so delicate and expensive.
If you’re building your own board, it’s almost always better to build the board into a hard case. This not only provides all the protection your board will need but also makes packing up and transporting the board as simple and easy as popping on the lid.
The whole purpose of a pedalboard is to keep all your pedals connected together in one place, but they won’t simply stick to your board on their own. Velcro is by far the easiest and most common way to do this, as it will keep your pedals on the board while also making it easy to move things around and reorganize if need be.
Now that you have your board built, you’ll still need to set it up properly before you can actually start using it. Once you’re done building the board itself, here is everything you need to know about how to set it up properly.
While attaching your pedals to your board with velcro is pretty easy, deciding the order in which to put them is a whole different story. While first-time board builders may not think much about this aspect of board building, pedal order can actually have a huge effect on your tone, so it’s essential that you get this right.
If you want something that will work well right away, you should put your tuner first, followed by dynamics, pitch shifters, filter effects, gain pedals, and modulation effects, with time effects like delays and reverbs at the very end.
Once you figure out your pedal order and attach the pedals to your board, all that’s left to do is connect them to each other and your power supply. This first part is straightforward and will only require you to use patch cables to connect your pedals into a pedal chain, but power can be a bit more complicated.
Most effects pedals use DC 9-volt power, but there are some that require high voltages to run properly. This means that you’ll need to make sure that you have all the right power cables and a power supply that is compatible with all your pedals to do so. As soon as you’re sure you have what you need, all you need to do is plug them in and start playing.
Have you always dreamed of building your own custom pedalboard but simply don’t have the time or expertise to bring your dream board to life? Give us a call or contact us on our website.
Here at Pedal Pad, we specialize in hand-building high-quality custom pedalboards that give guitar players everything they need to experiment with and perfect their tone. With a wide variety of different sizes, colors, and finishes to choose from and a full range of optional features, including built-in power ins/outs, audio jacks, and more, if you have an idea for your board, you can trust Pedal Pad to make it a reality.
Don’t settle for some boring mass-produced board when you could have so much more. Contact Pedal Pad and start designing your new dream pedalboard today!